Anyways.
I found this topic on NAXJA forums, http://www.naxja.org/forum/showthread.php?t=103658&page=1, and it inspired me to build a tiptronic controller of the same design.
Kevin fletchers design of a PCB with logic chips is all well and good, but if it dosnt work then it can get quite complicated. There was no gerber file avaible for the PCB so i learnt to use eagle. After a lot of mucking about on eagle with schematics and PCB layouts, i finally got to the stage of breadboring.
The board was going to cost around £15 to make, with £15 of components and a lot of my time to solder the board up. This would mean it would either be an involved project for anyone that wanted to do it, or it would take up a lot of my time making the boards. Getting them fully made by a company in such small quantities is also very costly.
I have a friend helping me on this, and we have been discussing it and working though it to add a few more features. Whist working though it, we came up with the idea of using a aurduino instead.
The idea behind Kevin fletcher’s tiptronic controller was to keep it simple. I feel that an arduino makes it even simpler still.
The arduino costs around £25, and then you need switches and a box on top, but this is the same as the board anyway. All the arduino needs to do the same job as the board is a bit software. This means I can now write the software, and anyone can buy the board, solder a few wires and that’s it. It also means that if I ever want to add more features, all you would need to do is upload the new software via a usb cable.
I am now at the stage of buying the arduino and writing the software, to prove the concept. If it works, I will then release the software to the public, with a full write up on how to install it.
At the moment the system has the following features:
- Takes control from the factory TCU.
- Provides manual up/down shift from 1st to 4th
- Provides a torque converter lock, which dis-engages when changing gear
- Has an led readout that shows what gear you are in, 1-4, and if the TC is locked
You switch to the tiptronic whilst in neutral, it boots up into 3rd gear as standard. You then select 1st and move into drive. If you go down the gears with the gear stick, you will limit what the tiptronic controller can do, so leave it in D.
I am hoping to add the following features soon
- TC lock dis-engage when braking
- TC lock dis-engage on gear change then re-engage after, enabled and disabled by holding the TC button down for 5 secs, notified by TC lock led flashing twice.
- Stop check engine light coming on.
- Use of arduino PRO mini – which only costs £13, and is 20mm by 30mm, reducing package size massively.
- Sense what gear you are currently in, hold that gear, and then turn the TCU off.
- Make sure the TCU has full control before the tiptronic shuts down.
I accept no responsibility if you break your car or yourself. This is not intended for highway use and should only be used offroad. ;)
--------
 |
| This is the switch i made to shift up and down gears |
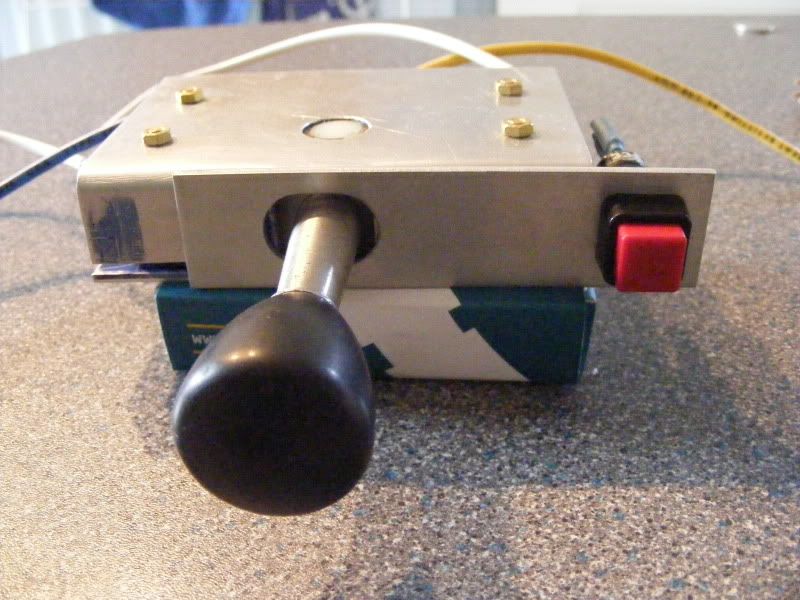 |
| I also have made a faceplate which takes the TC button too |
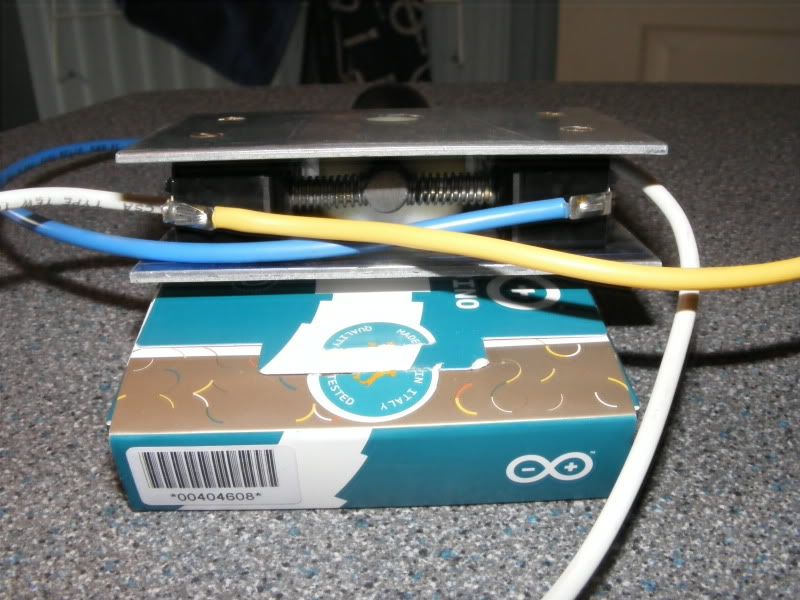 |
| This shows the action inside the switch |
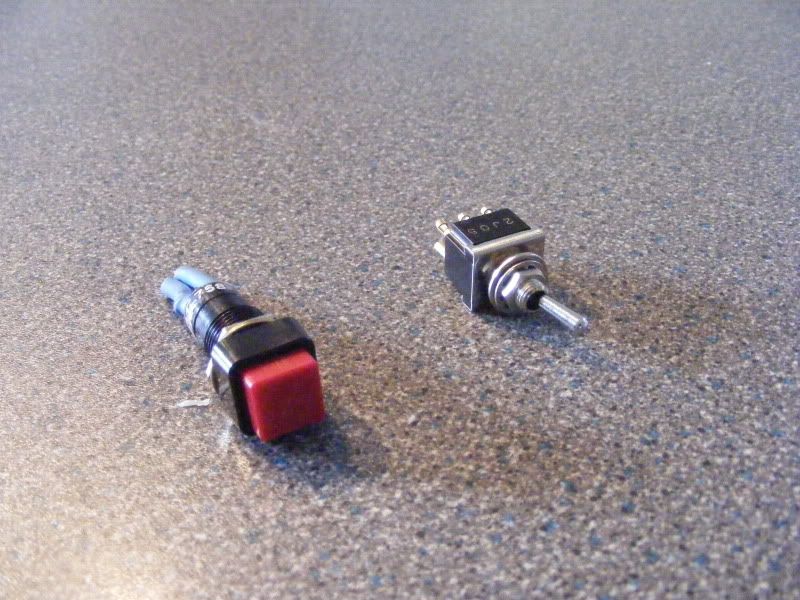 |
| This is the on/off switch and the tc lock button |
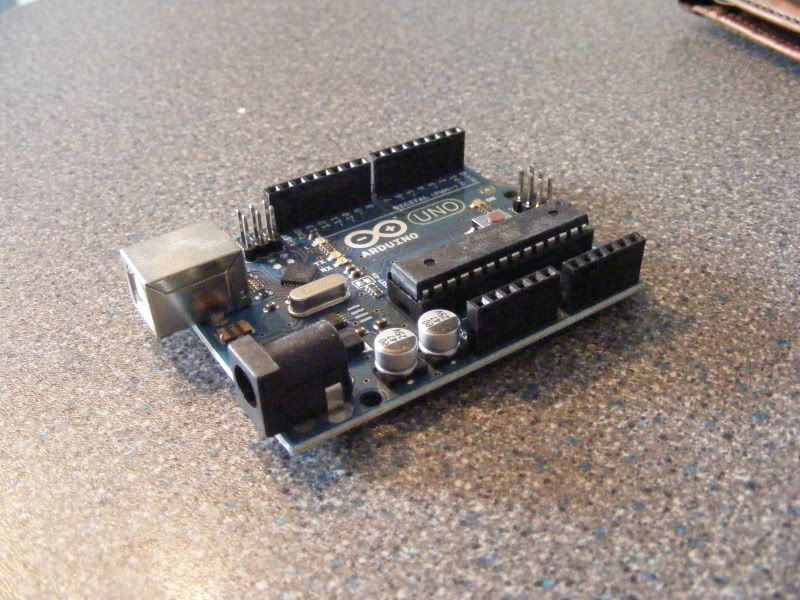 |
| This is the arduino, the brains which the code is uploaded to. It is just smaller than a credit card. ----- I also received a LED display, a driver chip (4511) and some TIP120 transistors. I have been breadboaring it up today, and so far have the switches working with the arduino, and the driver driving the display.  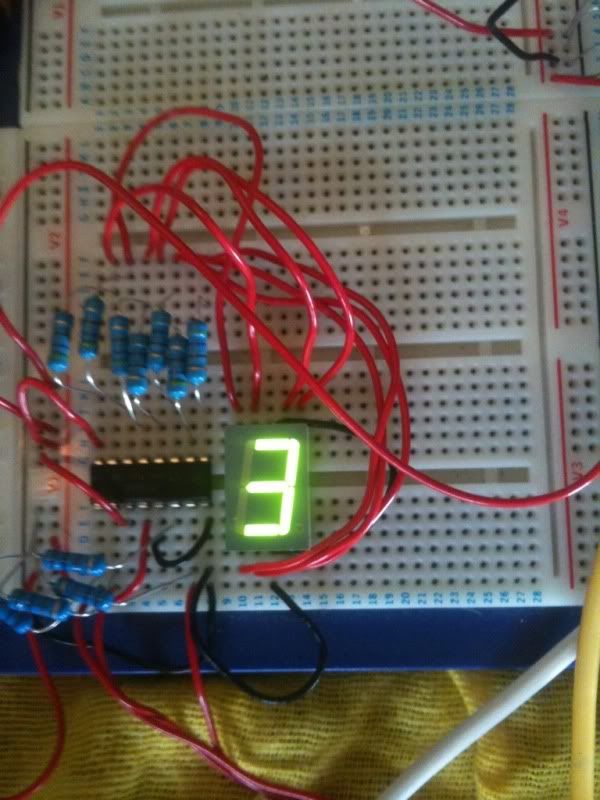 ------ Have been learning ardunio code with my mate who's doing most of the programming. This is our first arduino project and its turning out to be really good fun :D So far we've got to the beta stage, it's now ready to be put in the jeep and tested, and i still think some refinements are going to be needed, but it's getting there :) |
 | ||
Thanks for reading, I hope to post again soon with some updates :D |
No comments:
Post a Comment